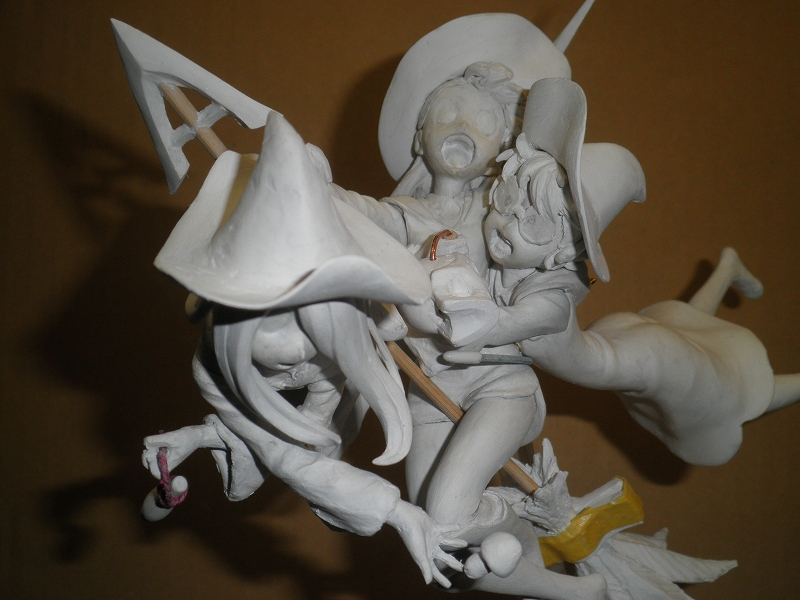
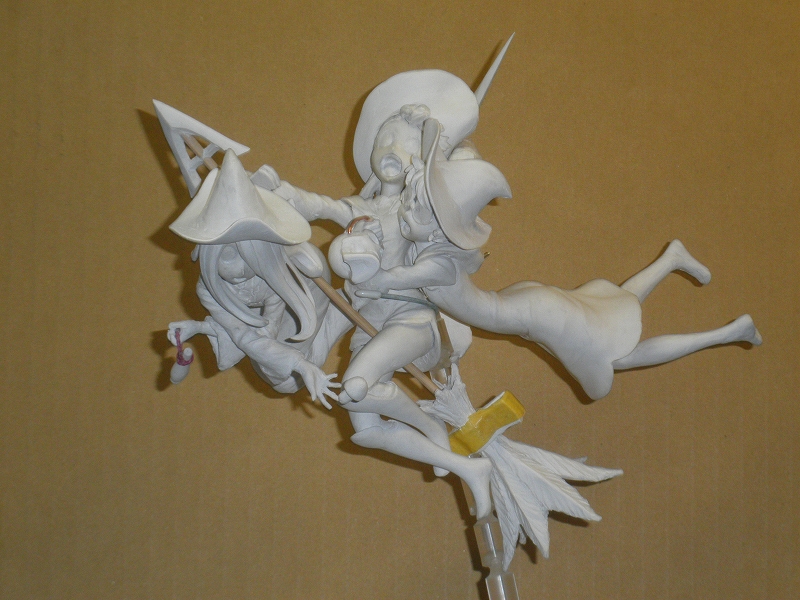
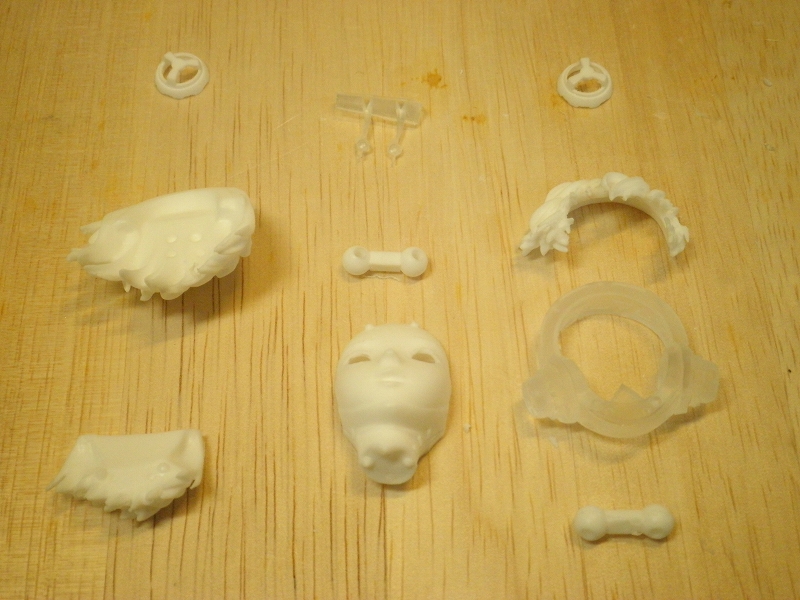
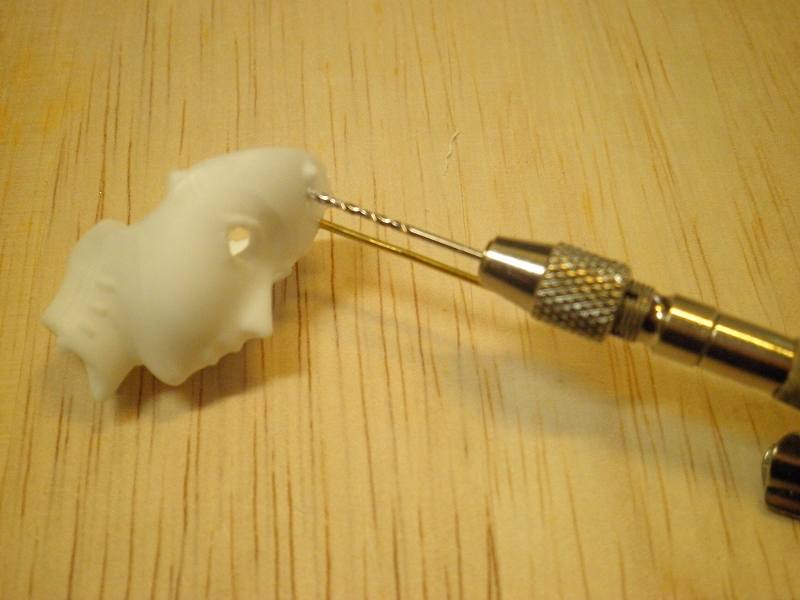
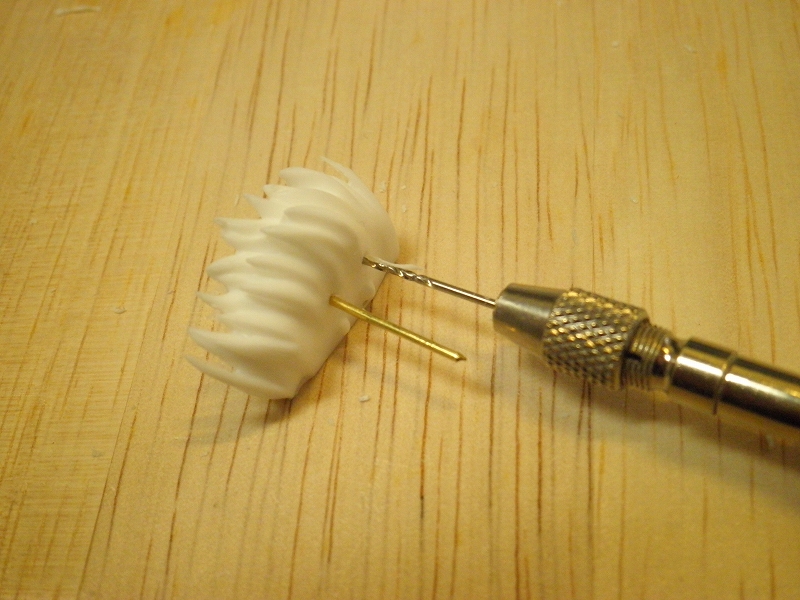
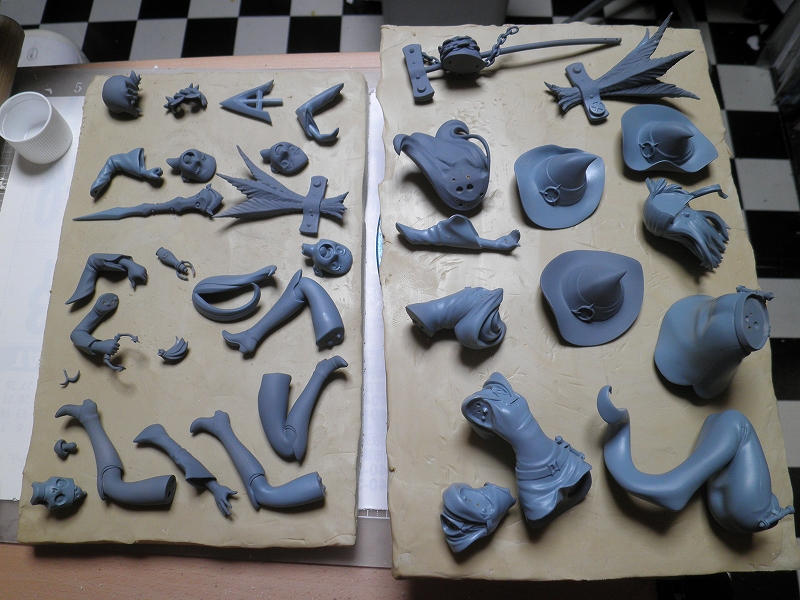
ロッテの帽子の取り付け位置
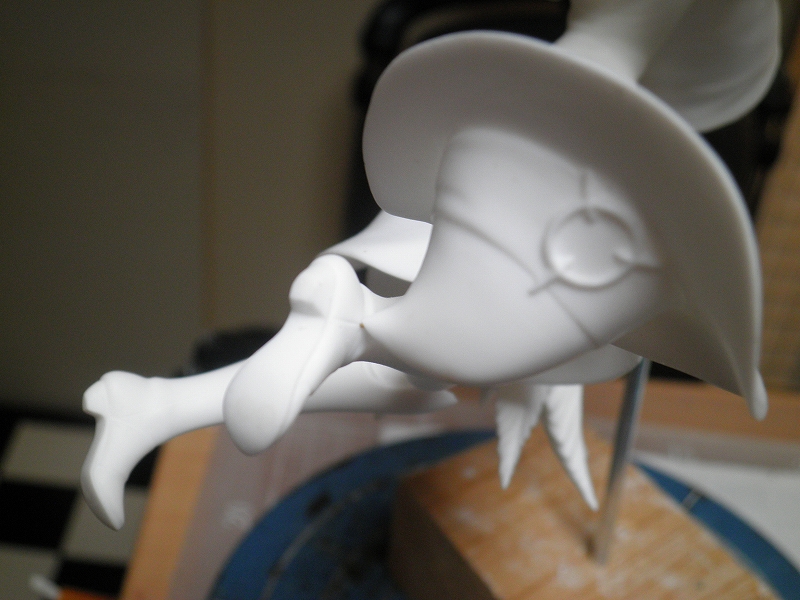
ロッテの帽子のてっぺんと右足首右側ブーツ筋彫り部に0.5mmの真鍮線で固定しています。
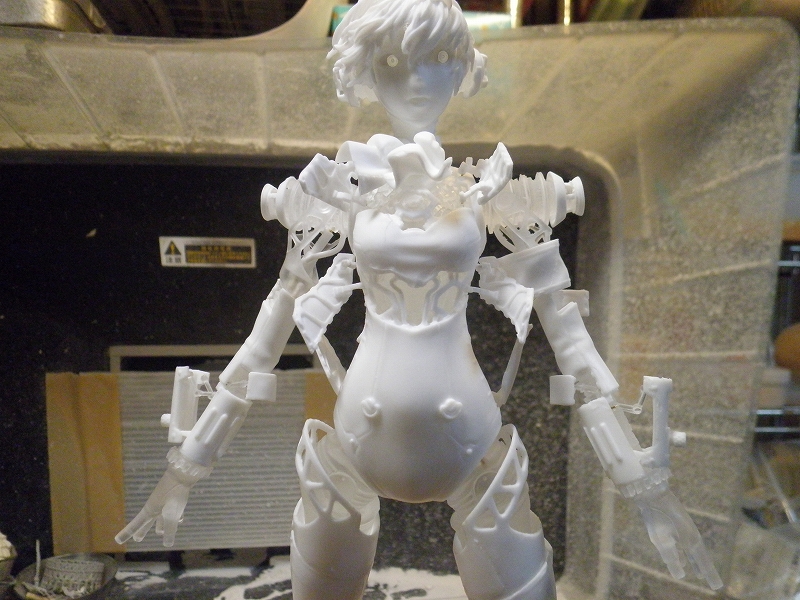
3人の帽子はお好みで選択できます。
私はロッテを無帽にしましたがスーシィも無帽でいいかもです。
真鍮線は曲げない方が安定します。
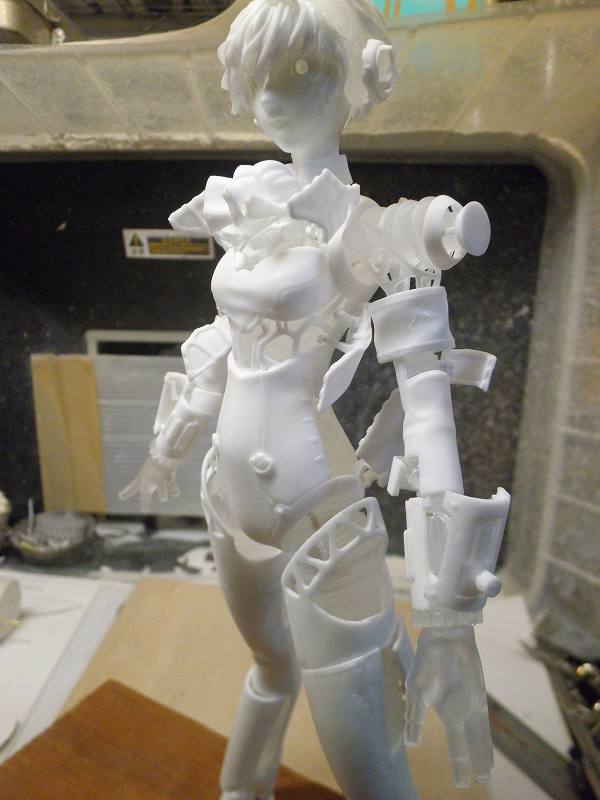
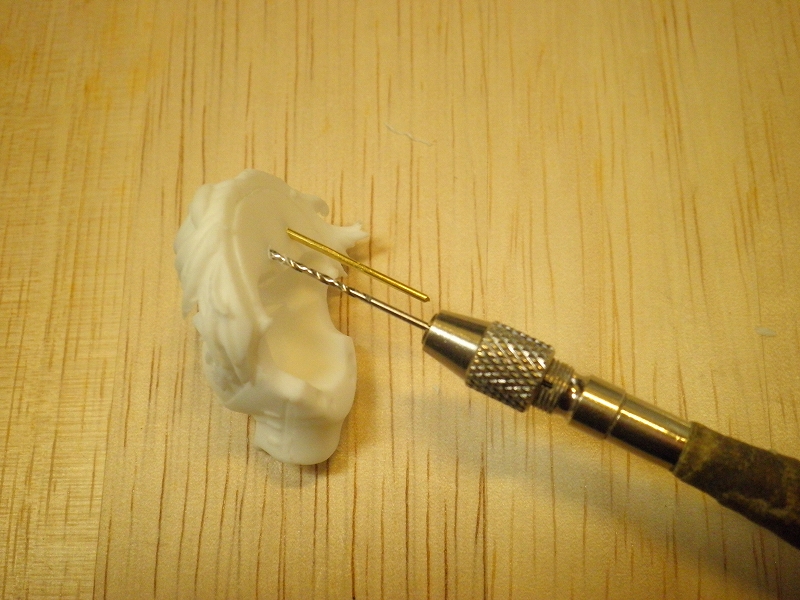
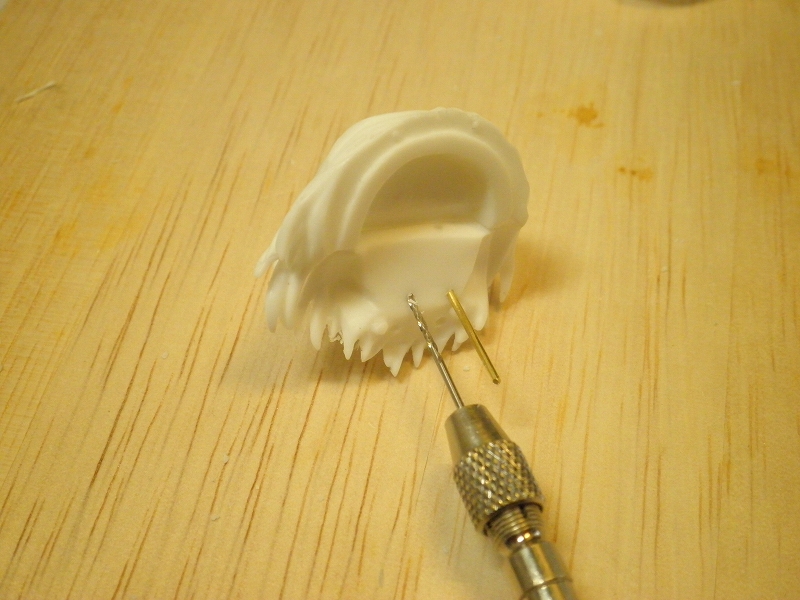
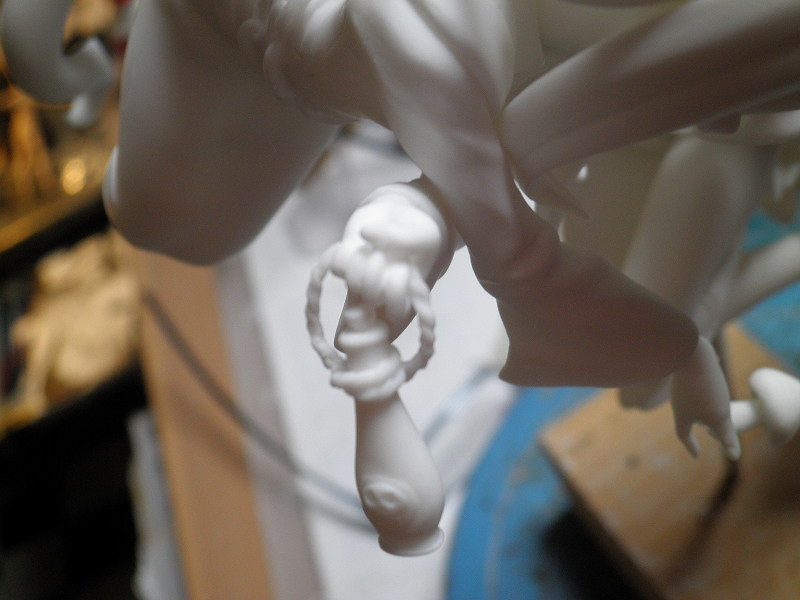
スーシィの毒キノコの位置
右手中指にピンがあると思いますが削り取ります。
中指の芯にまっすぐ0.5mmの真鍮線を通してキノコと接続します。
この真鍮線は曲げます。
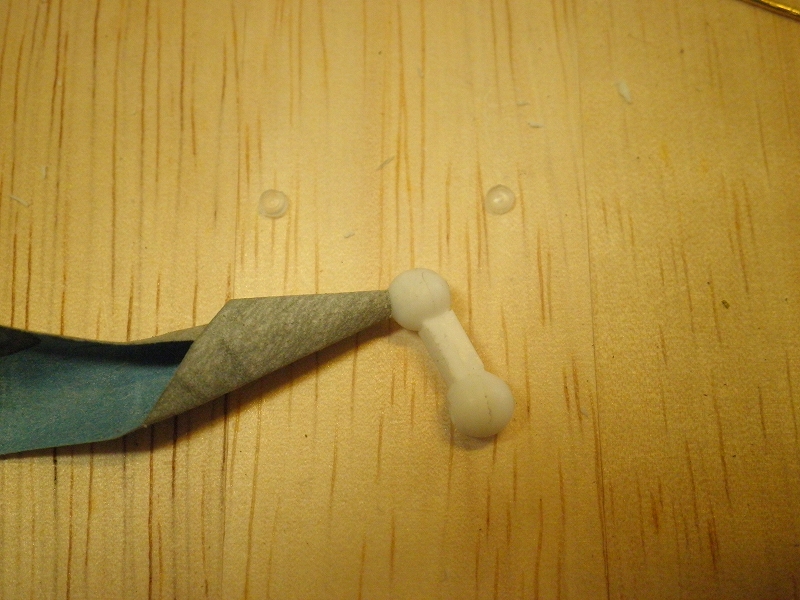
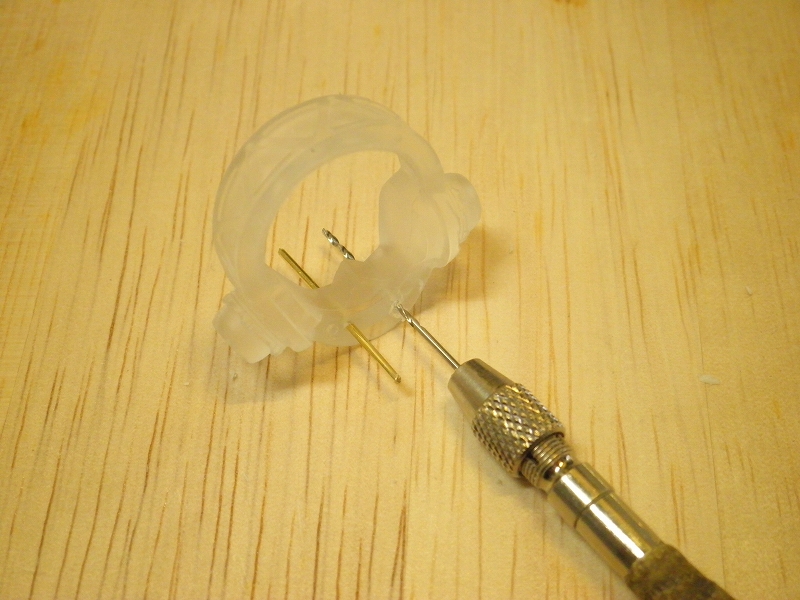
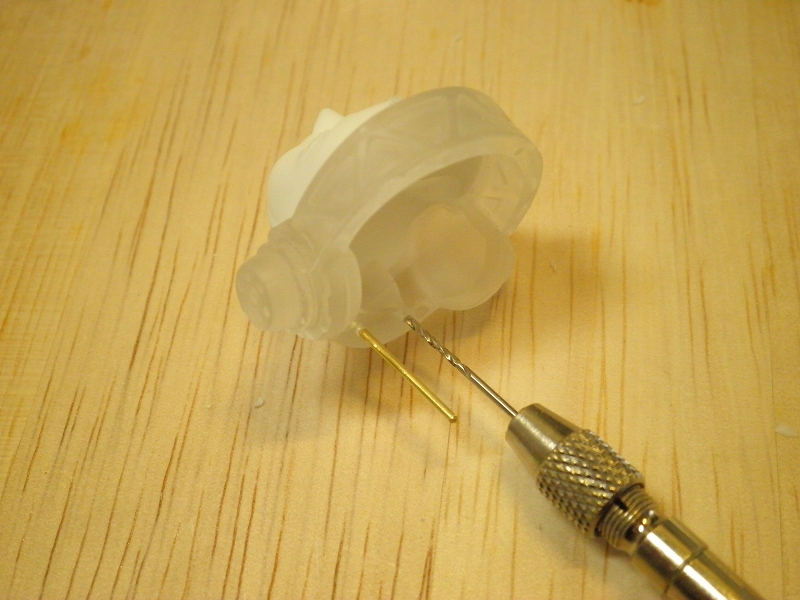
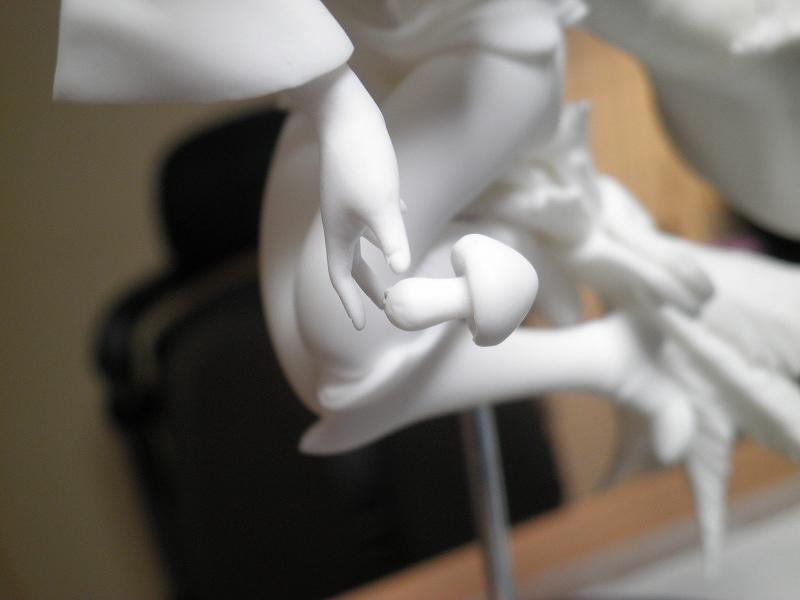
スーシィの毒薬瓶の取り付け
左手の握り部分の穴の形に紐の先を削ってあわせてください。(適当でよいです)
私は0.5mmの真鍮線で固定しましたが紐が折れやすいので軸は入れずに接着するのが良いです。
画像は軸なし接着前で、ちょうどはまる感じになってます。
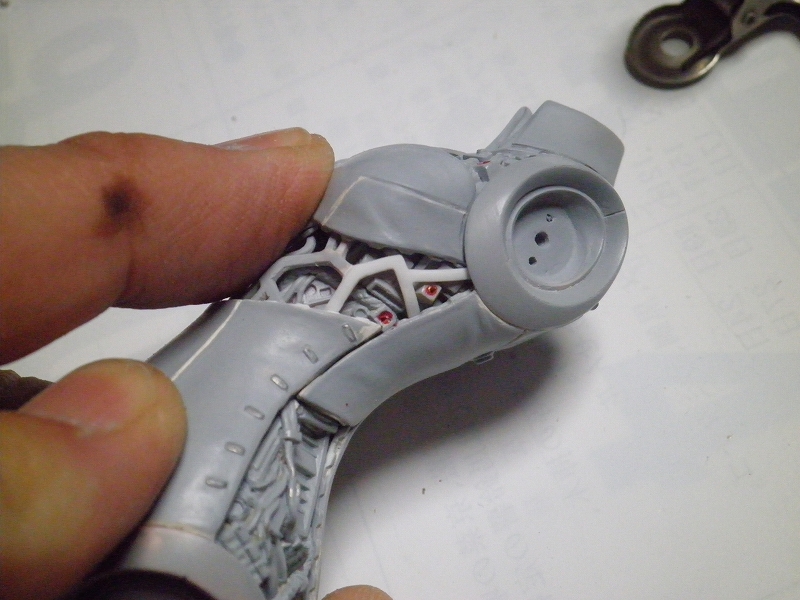
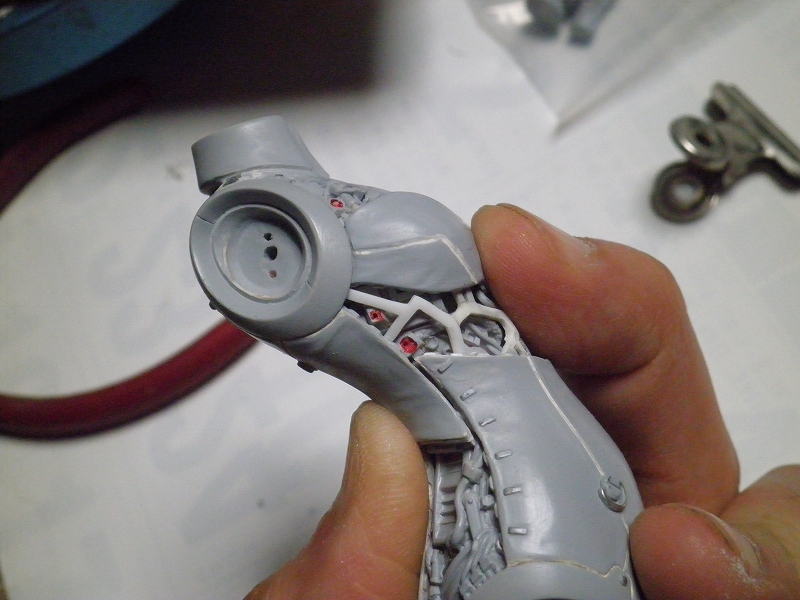
台座支柱の位置

アッコのスカートの裏側に軸位置の点があると思います。
仮組してお好みの角度にしてピンバイスを垂直に立てて穴を開けてください。
最初に2mmの穴を2cmぐらい開けます。
次にキットの軸の外形4mmが隠れる程度の穴を2.5mm、3mm、3.5mm、4mmの順に開けます。いきなり大きく開けると斜めの面で中心がずれるので少しずつ開けてください。私は1度失敗しました。穴の深さは浅いところで0mmになるようにします。
うまくいかなかった場合ポリパテで修正してください。
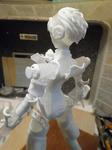
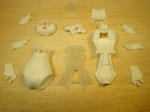
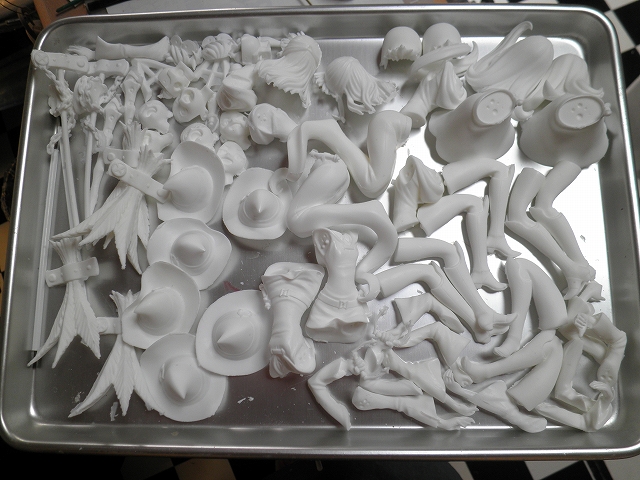
パーツには、アッコは「A」、ロッテは「L」、スーシィは「S」の刻印があります。
参考にして組み立ててください。]]>
 ]]>
]]>